Web Service Connector
The WebService Connector allows you to consume REST web services.
Do this:
- import the web service from an OpenAPI definition file, or
- use the Connection Editor to create the connection manually.
Connection Editor Properties
To add a Connector, click on the Connector button located on the toolbar, then select the Web Service option.
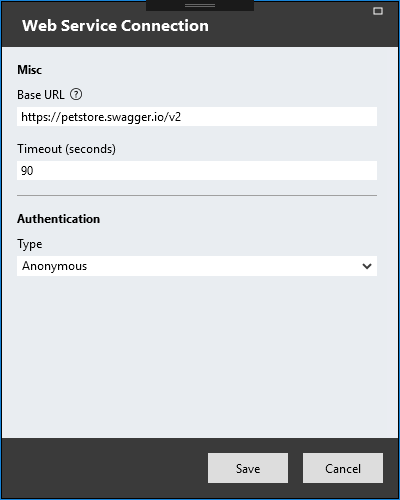
To create the web service connection manually, click the Create Web Service Manually button and provide the following details:
Base URL
This is the base URL of the web service.Timeout
This value corresponds to the duration in seconds before a request to the web service times out.Authentication
Available options:- Anonymous
- For web services requiring no authentication. - Basic
- For web services requiring the HTTP basic method of authentication. Required: username and password. - Api Key
- For web services requiring authentication through an API key. Required: key name, key value and key location (QueryString/Header/Cookie).
Note: Stadium does not currently support authentication via OAuth2.
Operations
To add an operation, click on the relevant Connector's + sign:
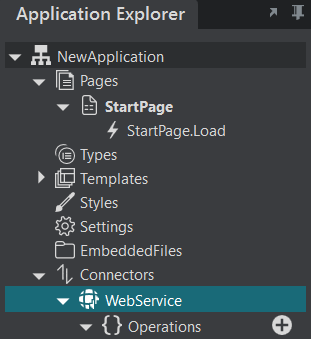
An operation placeholder is created.

Click on the operation name to open the Operation Editor:
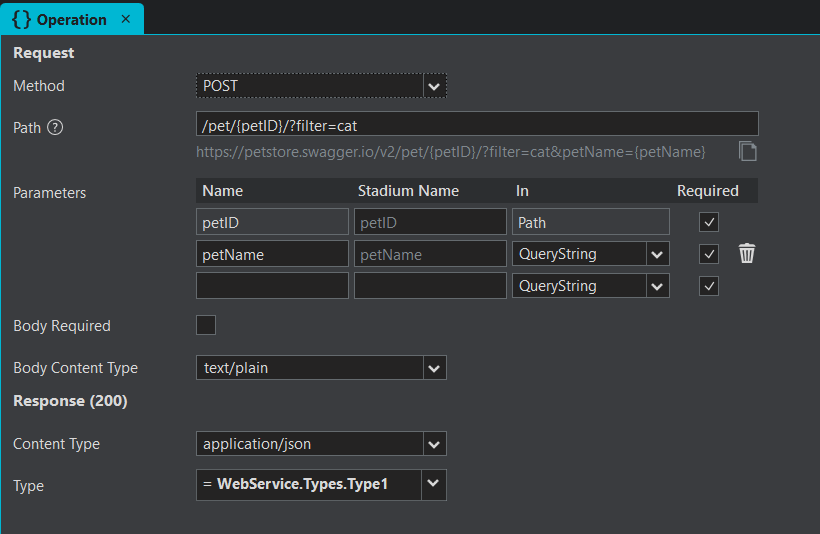
Method
Use this drop-down to select the HTTP method type of the web request.Path
The URL segment specifying the path and query string parameters of a web request is specified here. Use "{ }" to denote any path parameter having variable values. For example, the path "/pet/{petId}/?filter=cat" will create the path parameter "petId". Path parameters will appear in the Parameters table.Parameters
The Parameters table lists the parameters available to be read or set in page controls or scripts. To add a new parameter, enter the parameter name and location (QueryString/Header/Cookie) into the last row of the Parameters table.Body Required
Select this property to indicate that a body must be included in the web request. This property is enabled only when the HTTP Method is set to POST or PUT.Body Content Type
Use this drop-down to select the body content type for the web request. This property is enabled only when the HTTP Method is set to POST or PUT.Response (200)
- Content Type: Use this drop-down to select the content type of the response received from the web request.
- Type: Select a Type to be used in the response.
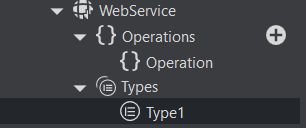
Types
You can add response types that will be created as soon as a web service response is received. This will simplify working with the response in your application from there onwards.
To add a Type:
- Right-click on Types, then select New Type.
- Provide a name for your Type.
-
Select what type you are creating:
- Any
Can be created for strings, integers, decimals, dates and booleans. - List
Can be created for a list of items. The items can be of any Type. - Object
Can be created for JSON objects. - Existing Types
Can be created as a Type of a Type.
- Any
To associate the type to a specific operation's response, open the Operations Editor, then in the Response section select 'application/json' as Content Type and select your type from the Type drop-down.